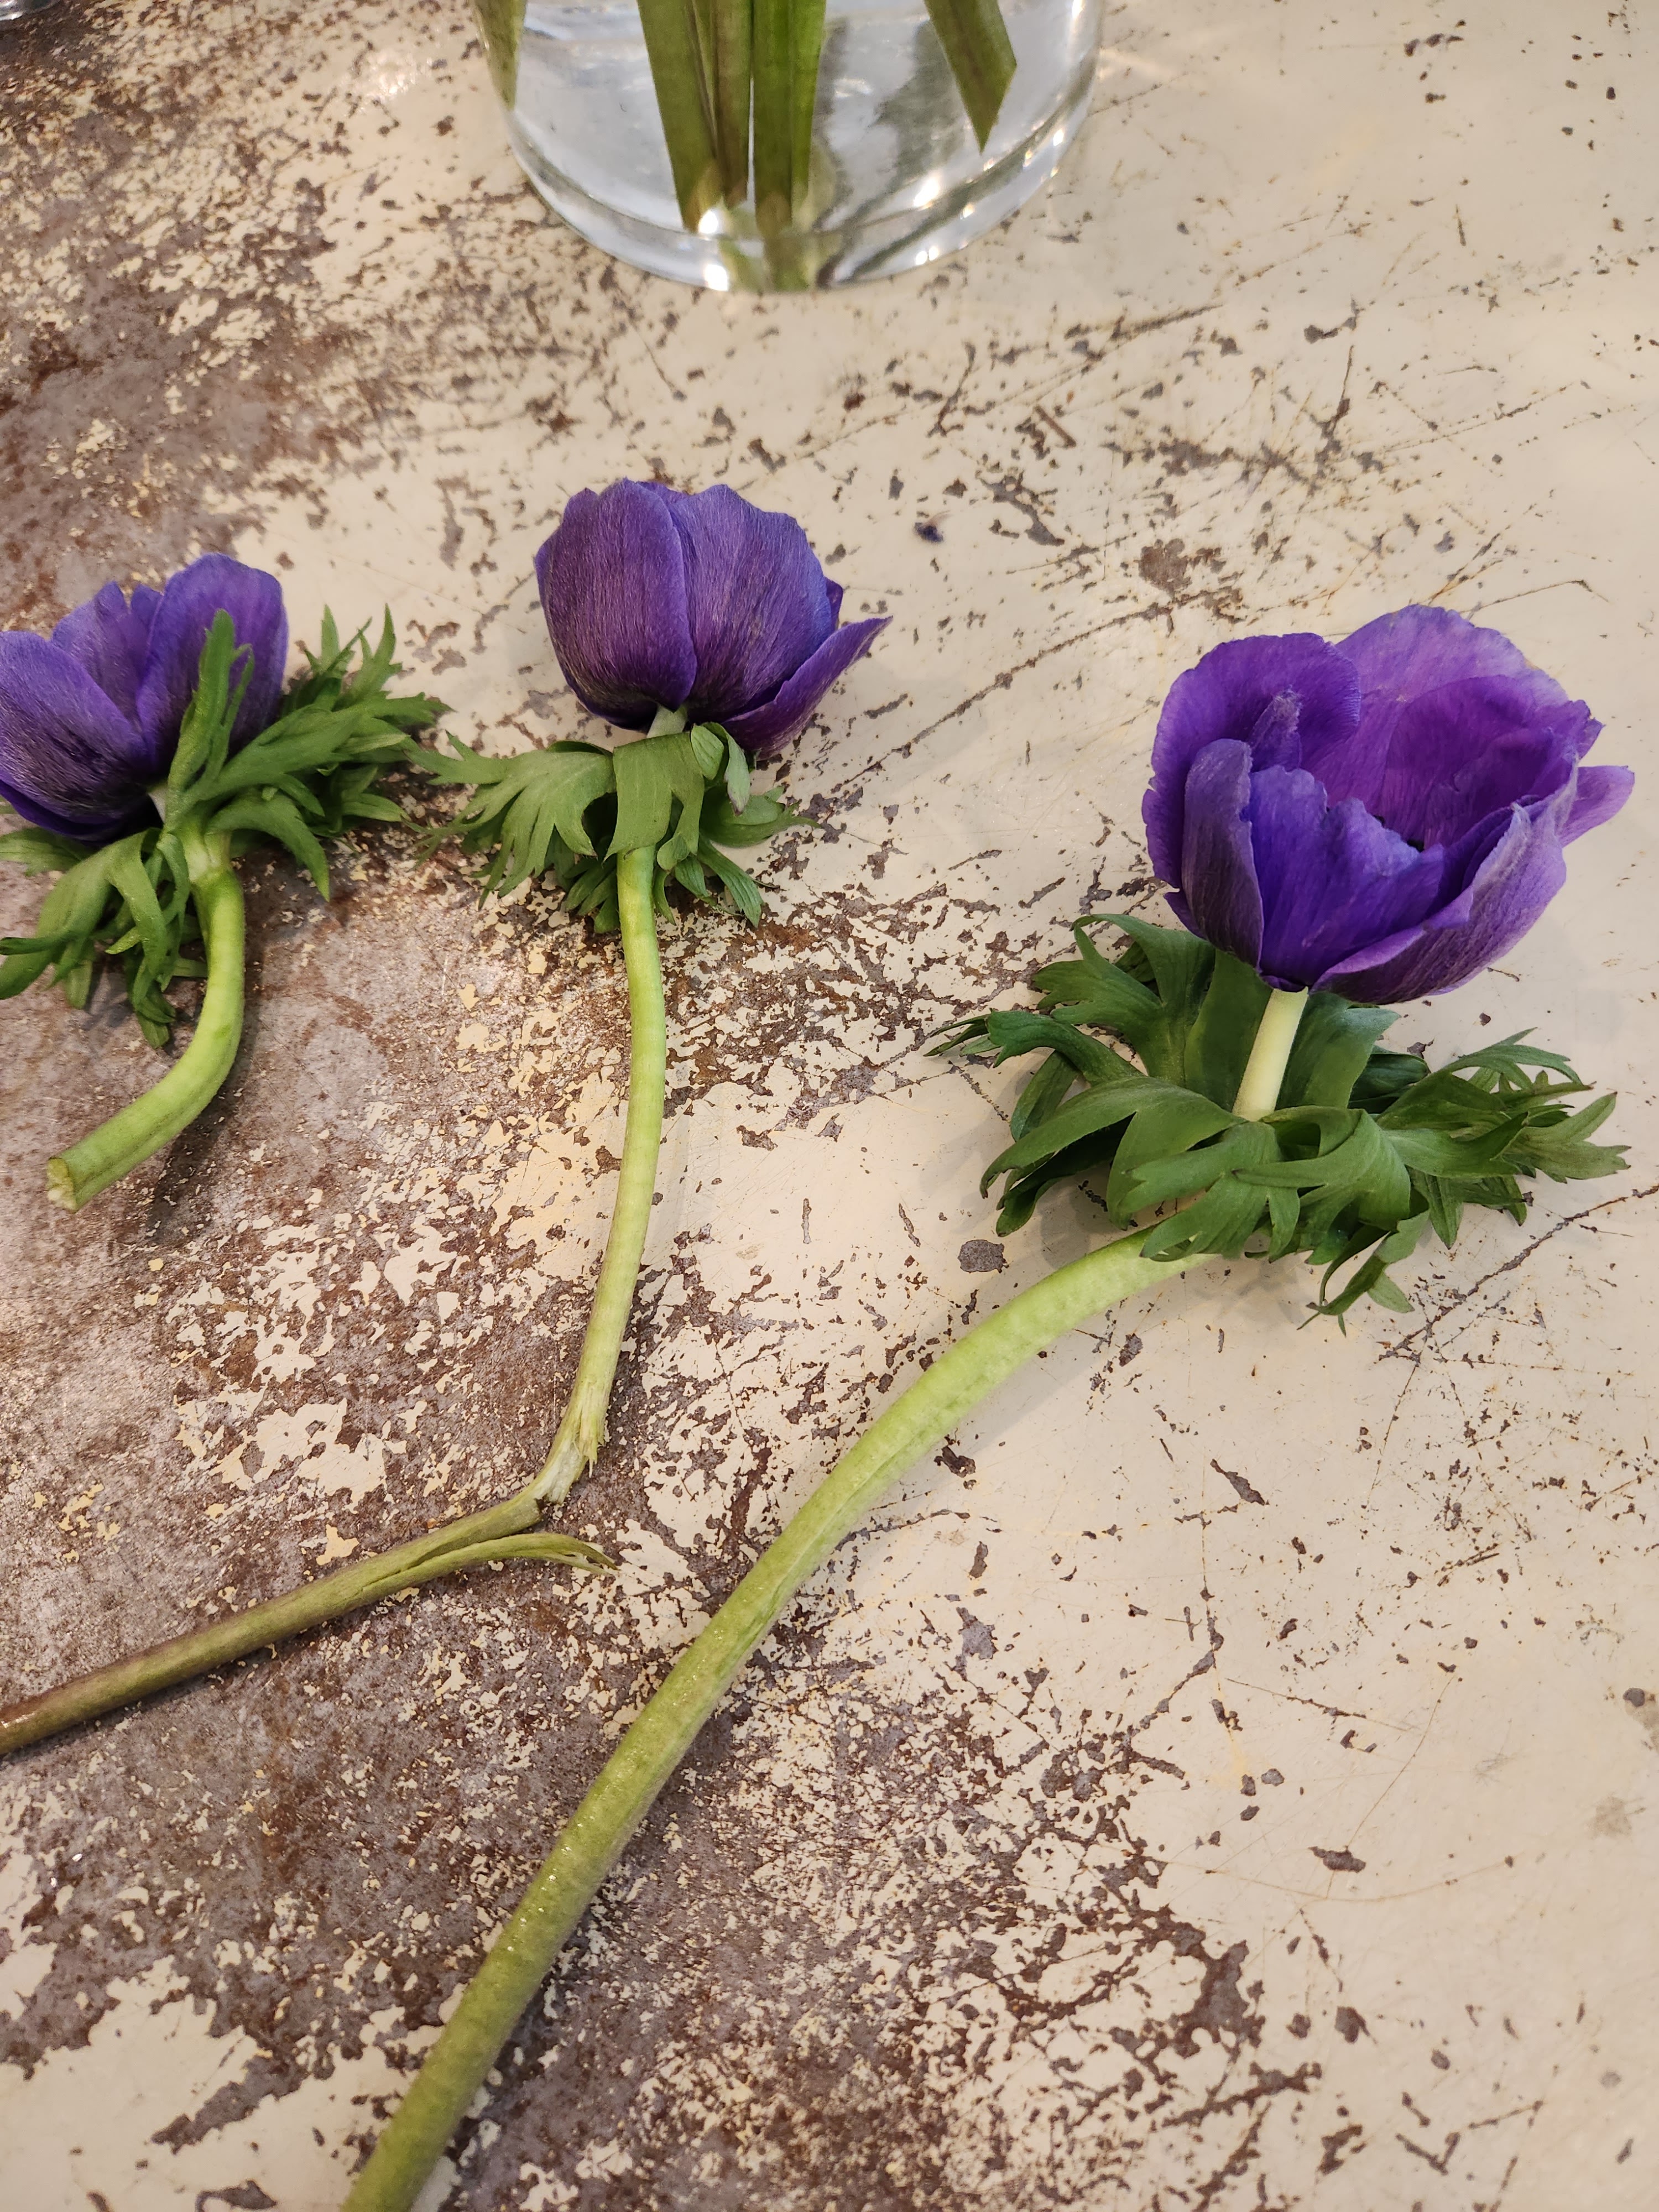
FARM FRESH FLOWERS – Anemones
Image
Reply

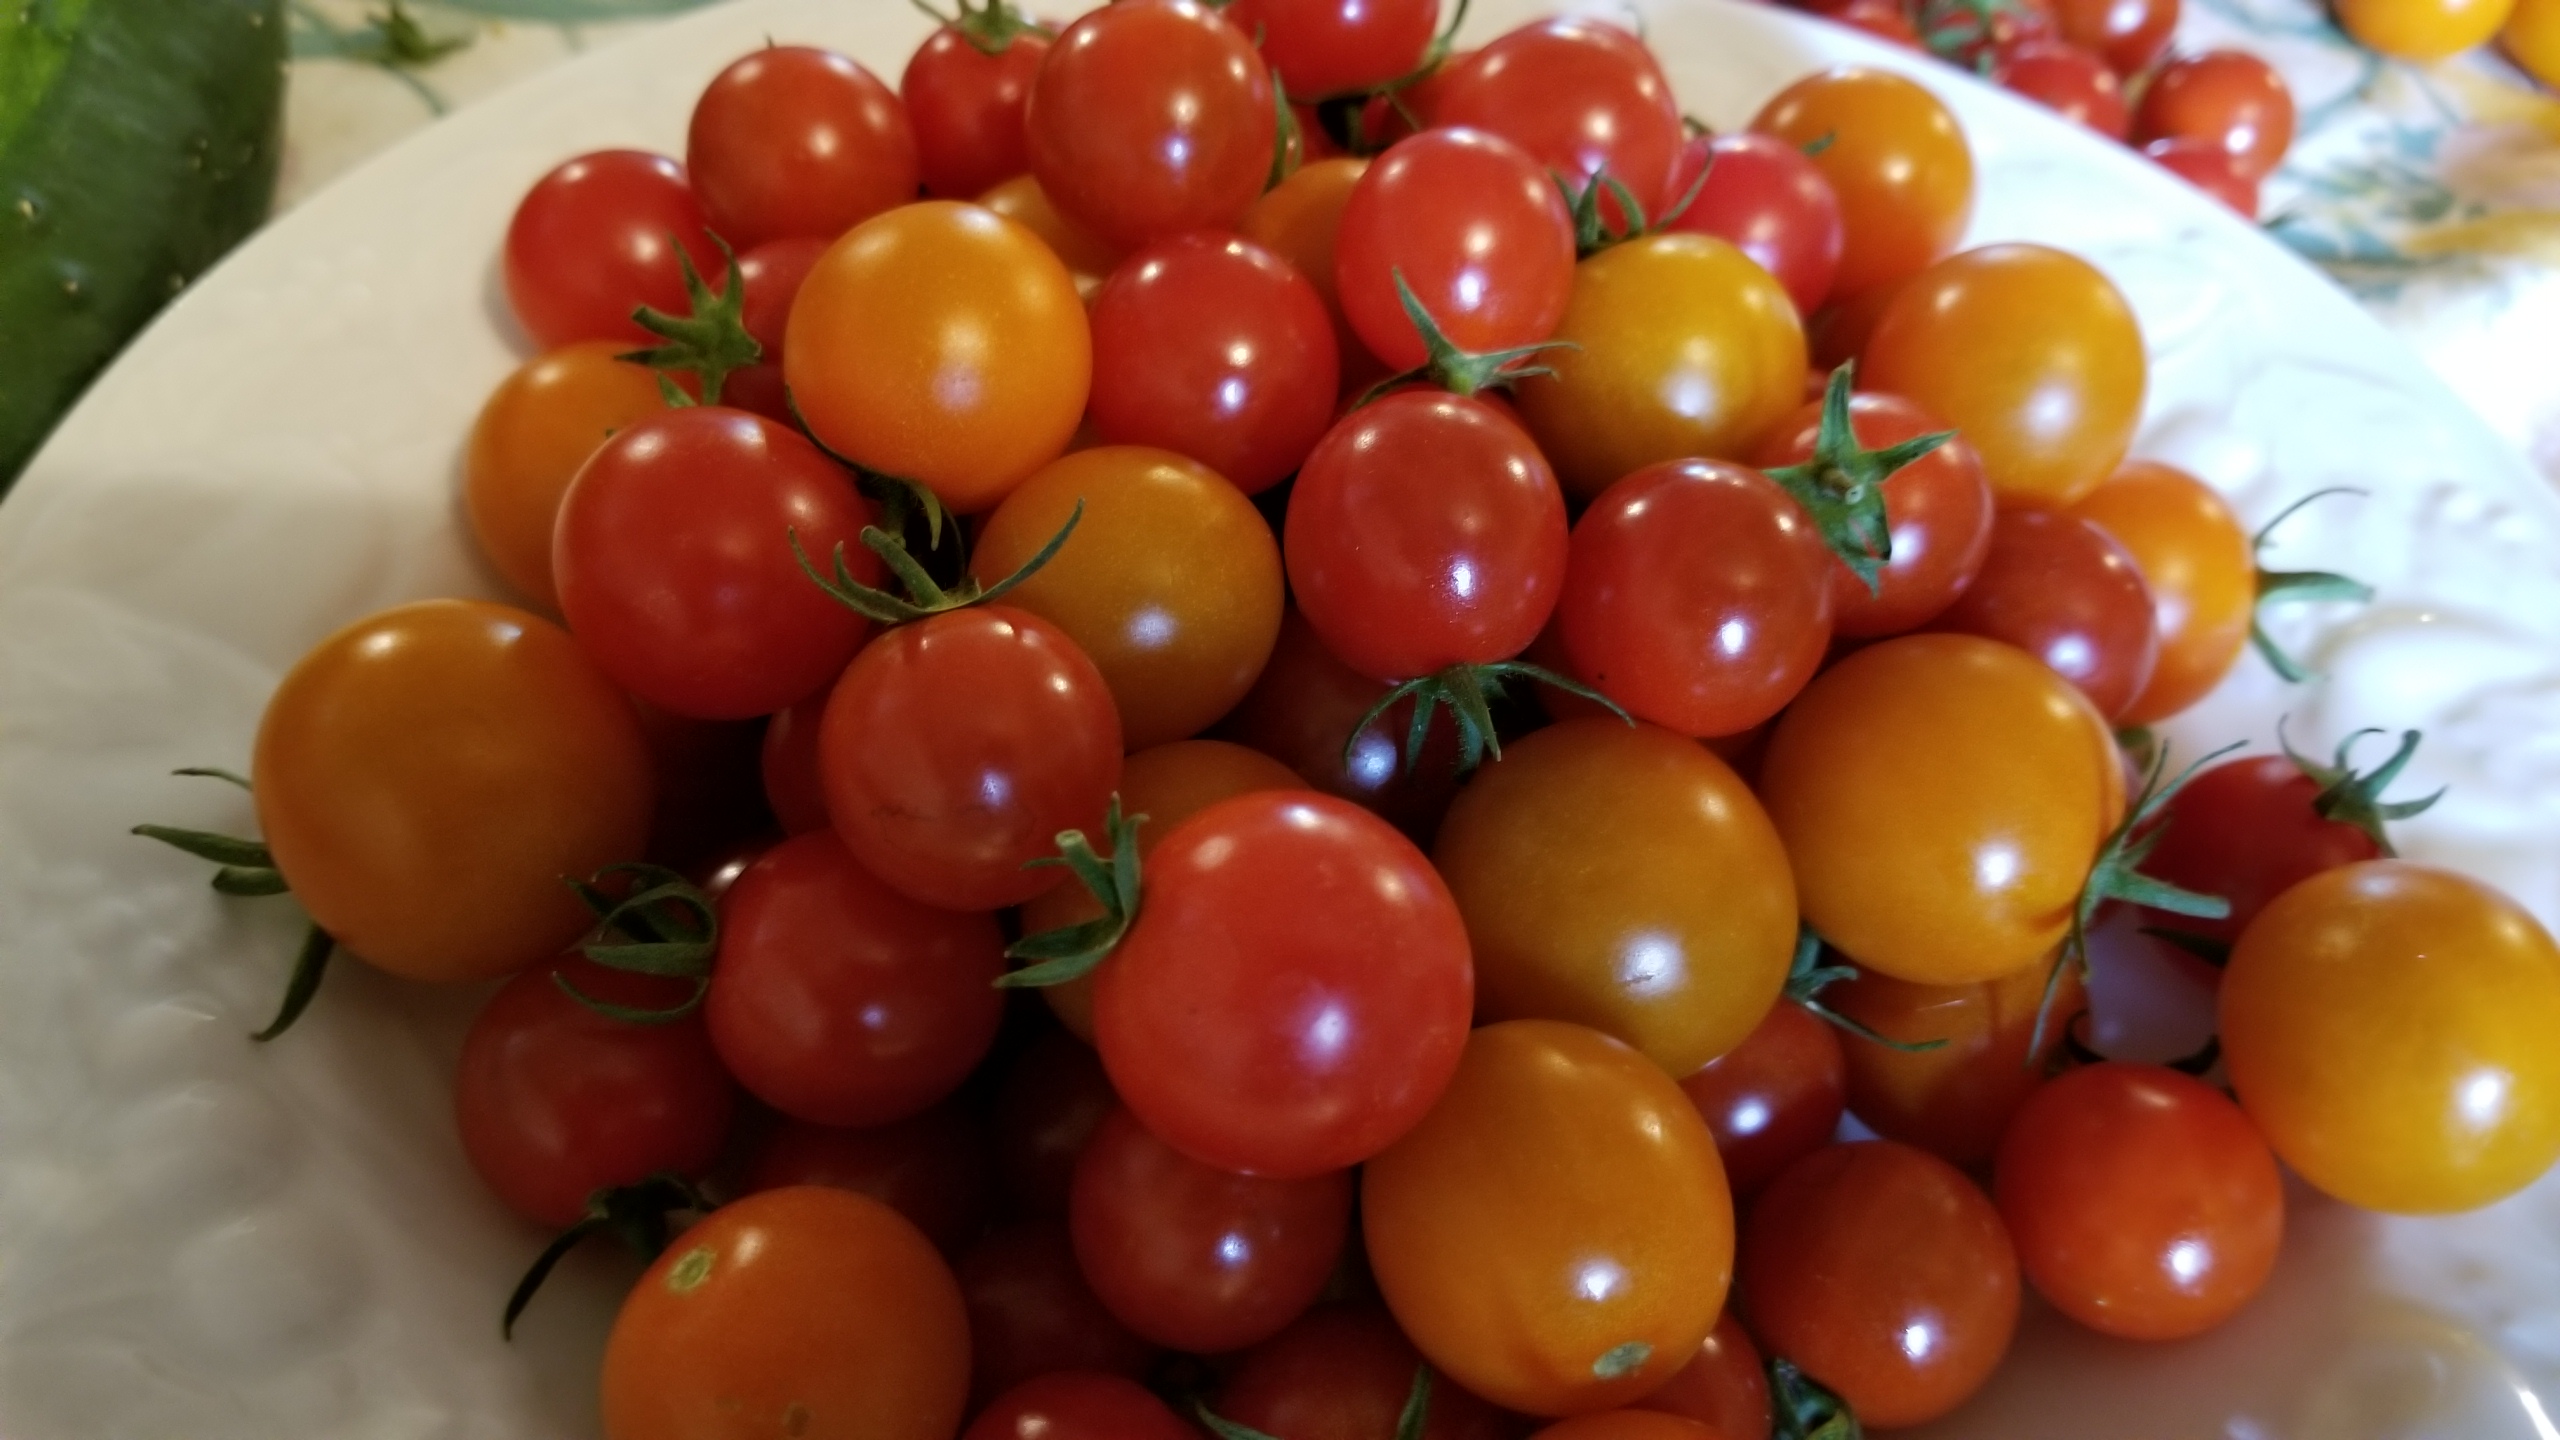
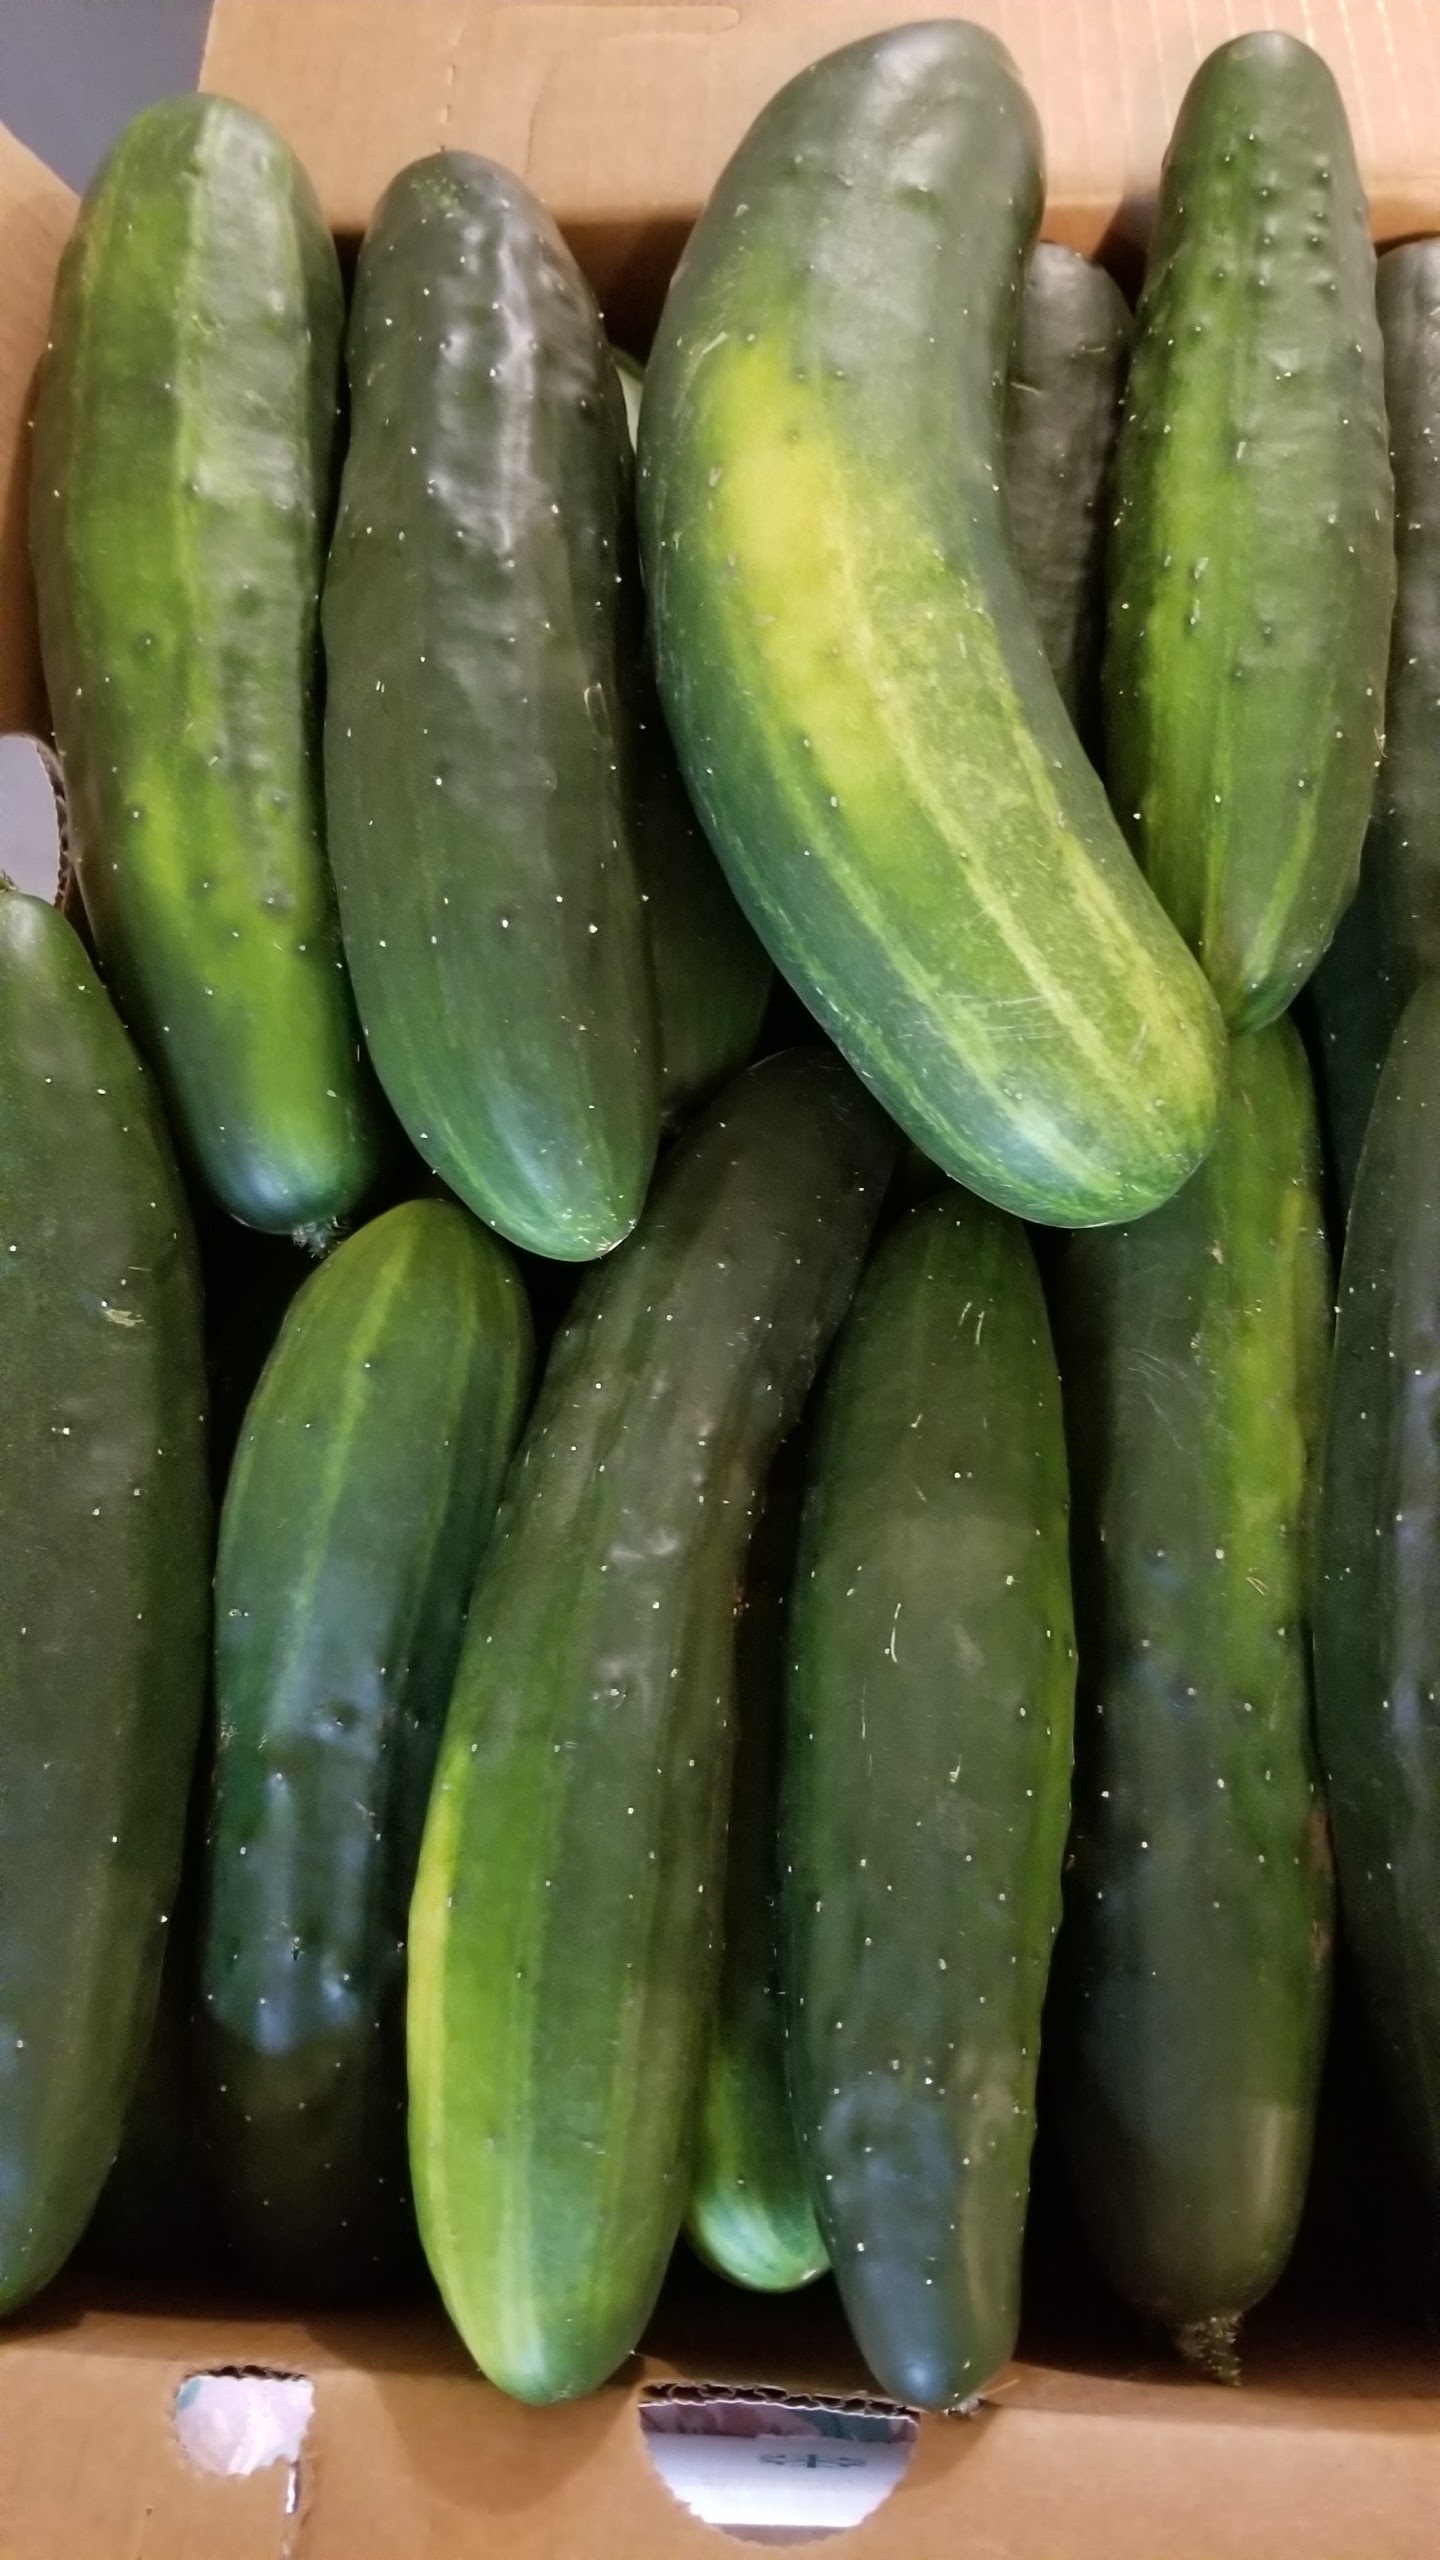
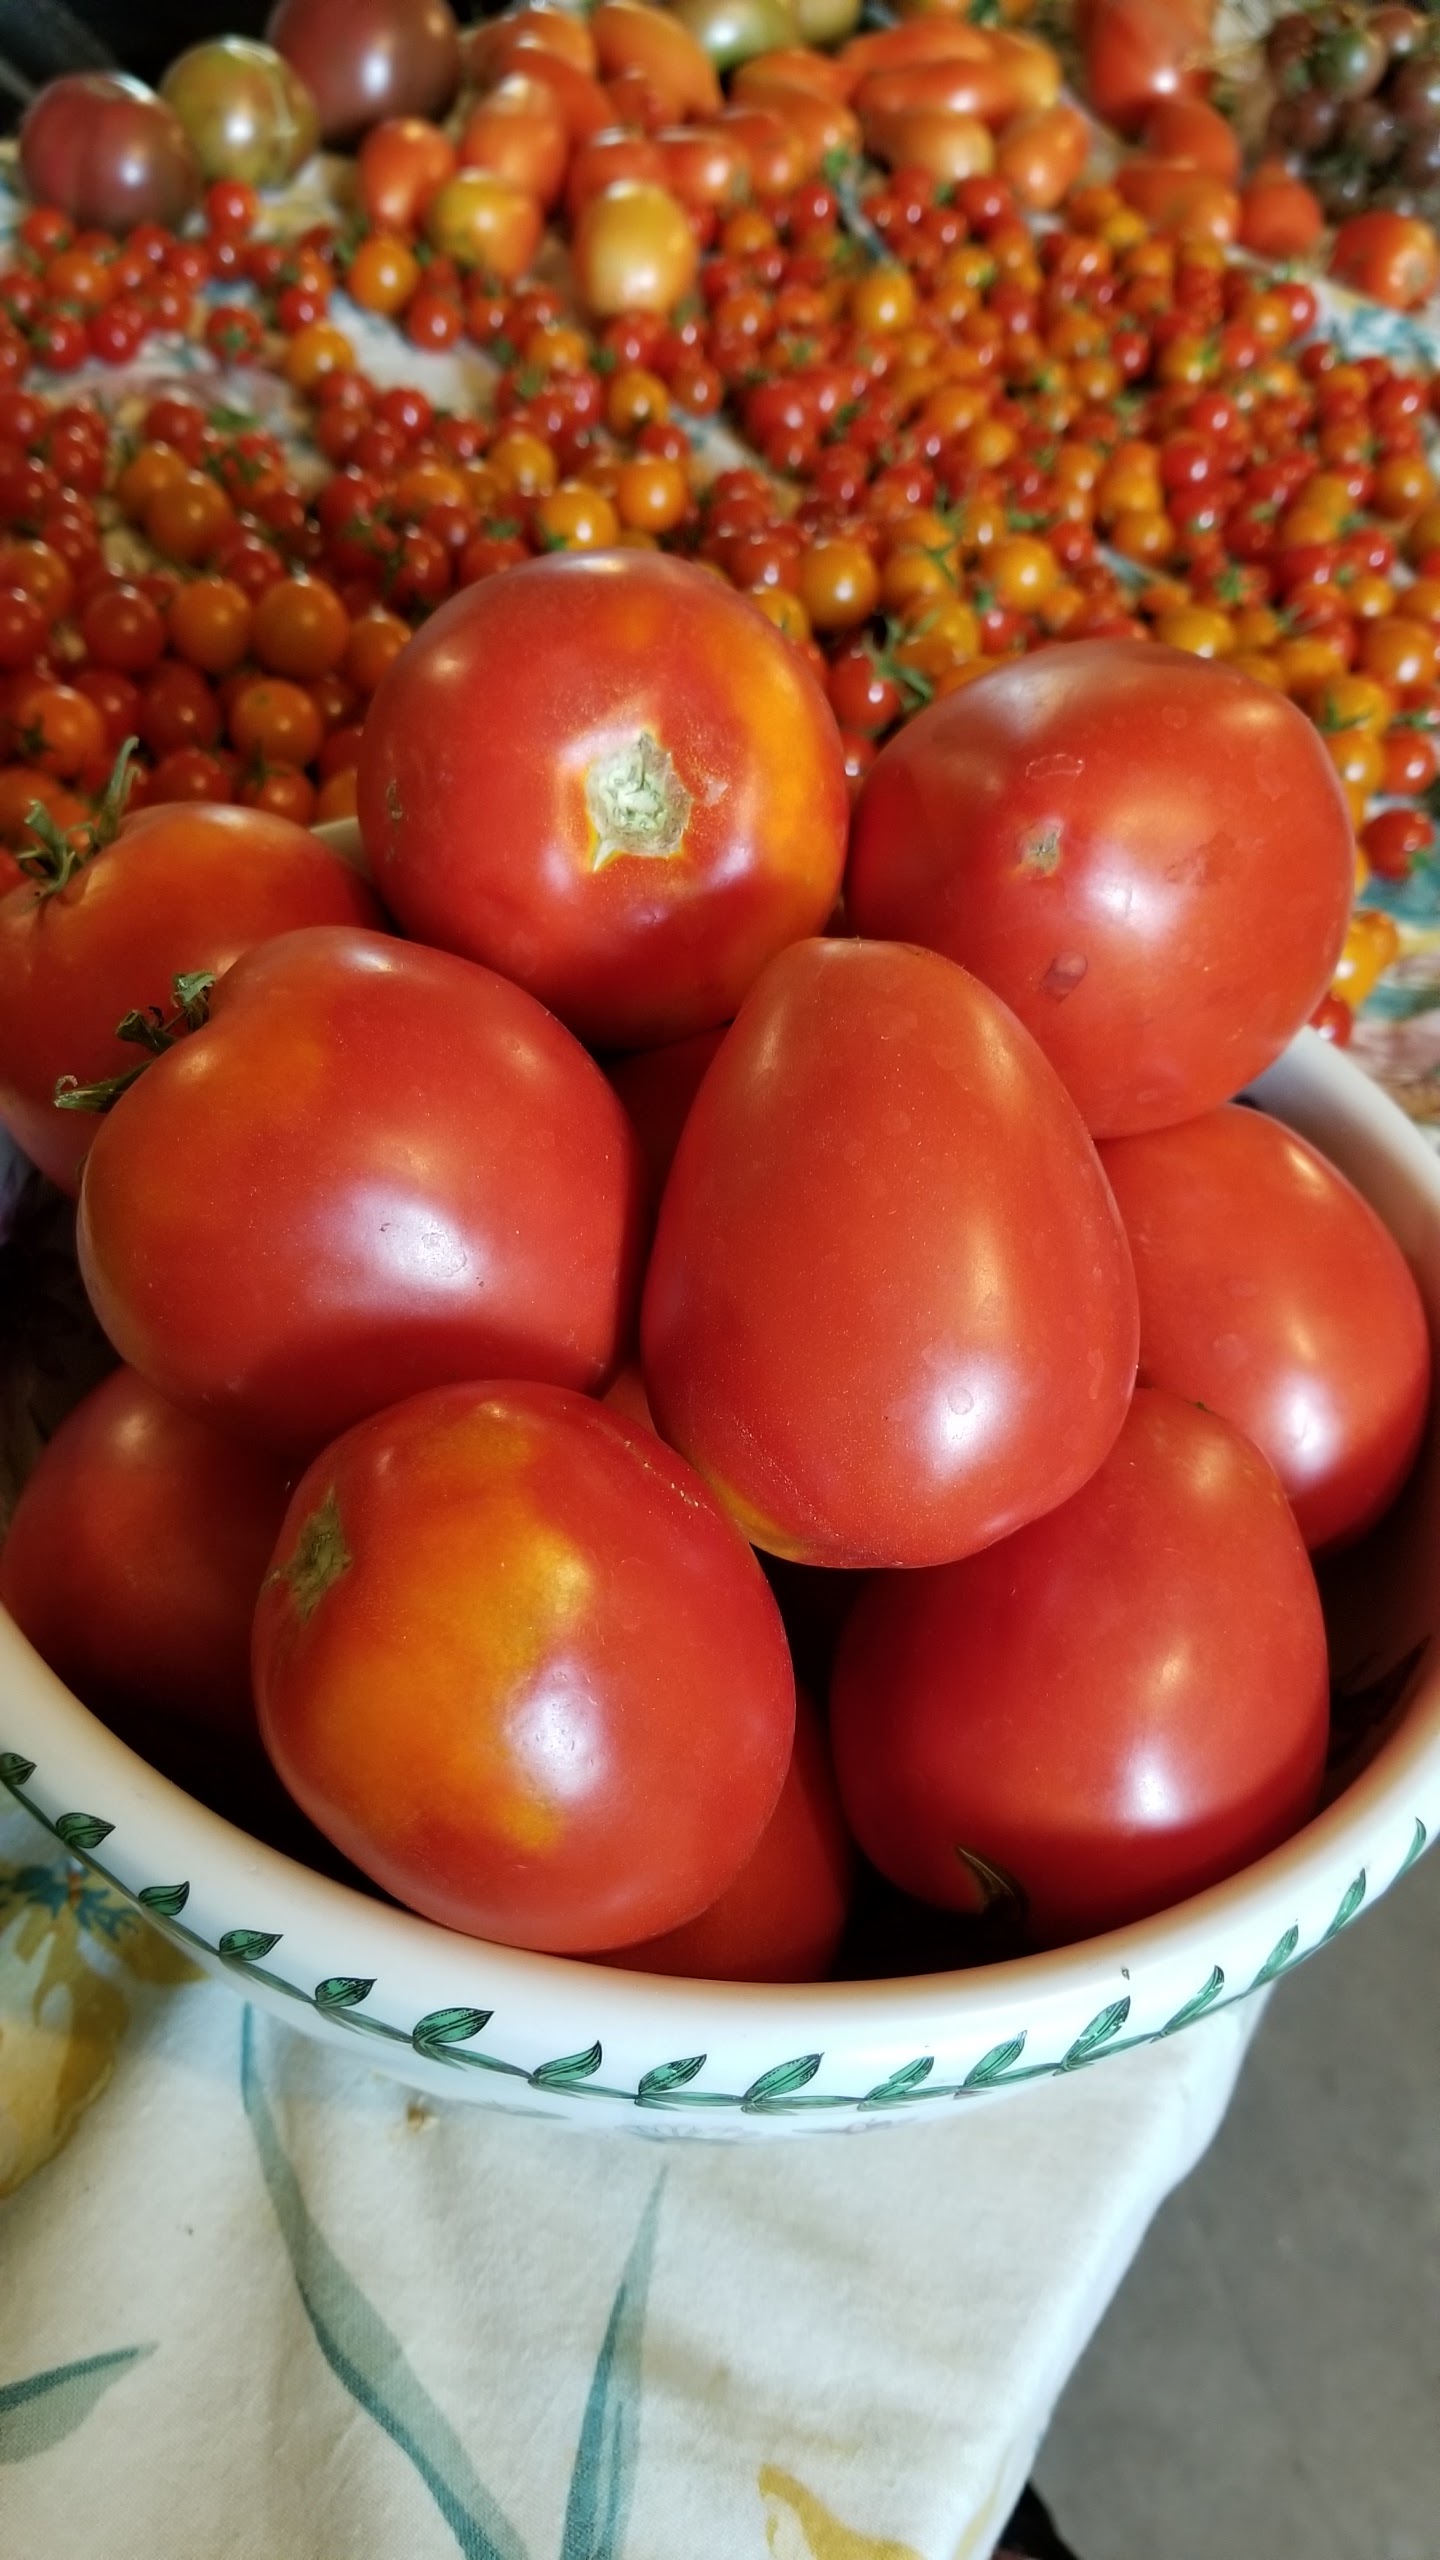
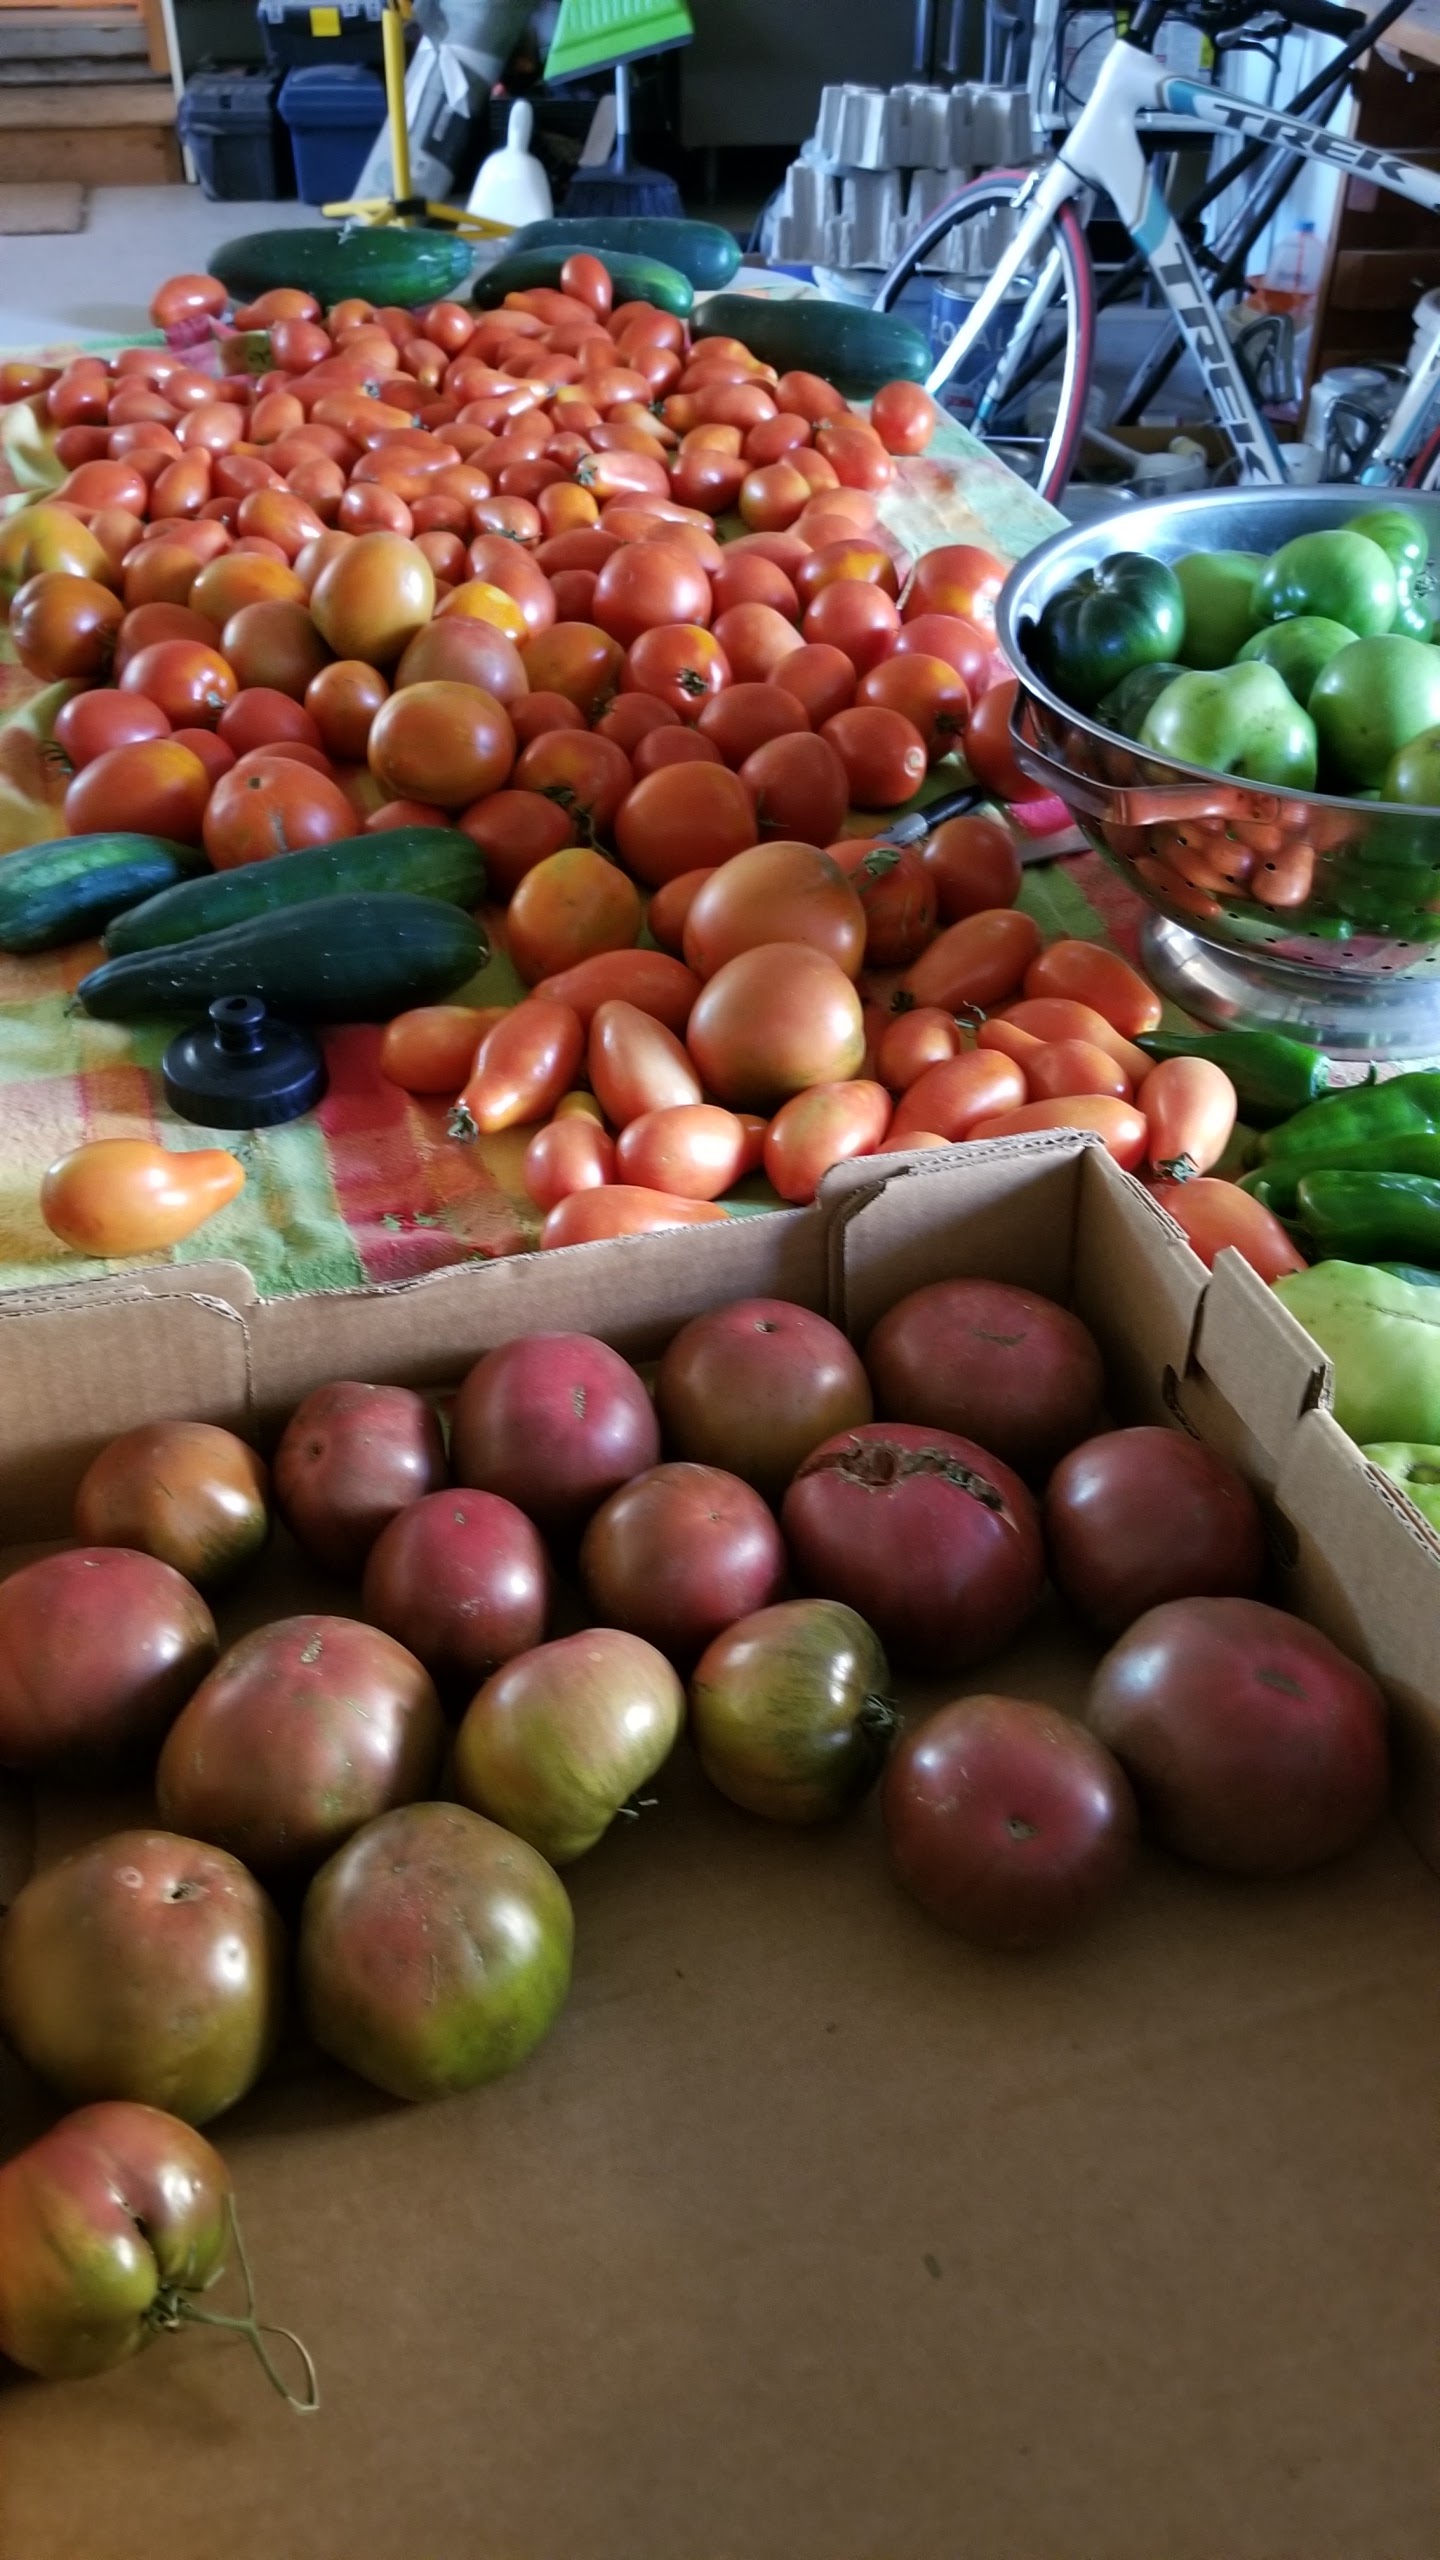

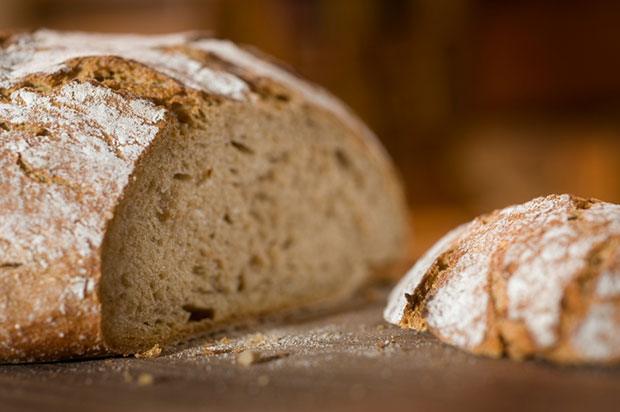
Image courtesy of http://www.history.com. I always break into mine too soon to take nice pictures!
In the depths of winter nothing can really top a pot of soup simmering all day served with a fresh baked loaf of bread. I was lucky enough to have a crafty/foodie friend who a year ago started her own sourdough starter. Since then I’ve baked at least fifty loaves of fail proof, delicious, sourdough goodness. For those who have never seen a starter, it is a fascinating little jar of harmless looking flour-water batter. Add a little flour and water each day and the fermenting mass bubbles and rises, ready for baking any day. Then during times when you know you’ll be busy and not baking daily, the starter is equally happy to rest in the fridge for another day.
The recipe I was given is deceivingly simple – so much so that I doubted myself each time I attempted to bake. I made phone calls to the sourdough starter’s mother, watching my every move and taking care to do each step perfectly. “Really, you can’t mess it up,” she says. “Just add what ever flavors you want, leave it out longer or shorter, it doesn’t really matter. It’ll turn out perfect every time.” Sure. This is coming from a pastry chef who’s kitchen endeavors are nothing short of amazing and beautiful every single time. I trust her though, and begin to experiment…
Long story short, it is true. Aside from using the proper amounts of flour, water, starter and salt, the times and other ingredients are incredibly flexible. The starter has yet to disappoint, and the recipe is unbelievably easy to use. For tips on getting your own starter going, a simple google search will do the trick. This recipe seems like a good one.
Once you have your starter going, or are lucky enough to get some from a friend, follow these easy directions and I bet you’ll never want to buy bread again.
Things you’ll need:
Maintaining the starter
Each day, either bake with or throw away half or more of the starter and feed with 50g whole wheat flour, 50 g white flour, and 100 g water
If you’re not going to bake for a while, you can put the starter in the refrigerator for up to several months to store it. To wake it up, just pull it out of the fridge and start feeding it again. Don’t worry if it looks funny (if you leave it for a while it can get a nice looking black liquid layer on top – just mix it back in:)
I’ve found that if you plan on baking, pull it out of the fridge the day before, feed it, and then use it the next day. I never really bake consecutive days in a row, so just put it back in the fridge after you get what you need.
Making a Loaf
In your plastic tub, stir the starter into the 80 F water until dissolved. Mix in the white and wheat flours with your hands or a dough scraper until water and flour are incorporated. There is no need to knead, just combine the water and flour.
Cover and allow the mixture to sit for 20 to 30 minutes. This step is called the rest or “autolyse”. This rest period allows the flour to become fully hydrated.
After that time is up, add the sea salt (and any other ingredients here – just use your best judgement on amounts) and mix with your hands (wet your hands first). Cover.
First fermentation: 3 to 3.5hours. Let the dough sit in your covered plastic tub. Each hour, pour the dough out onto a floured surface using your dough scraper to help the dough out. Quickly stretch and fold the dough, pulling the right edge to meet the left adn then pulling the left side to meet the right.
At the end of the first fermentation its time to shape the loaf into a boule. Pour the dough out onto a floured surface. Take a corner and pull into the center of the dough three or four times, rotating the loaf as you fold. Pick up the dough, flip it over so that the smooth side is up, and use both hands to pull it into a round shape, stretching the top (good) side toward what will be the bottom of the loaf. Place the dough onto the cutting board good (top) side up. If the dough is not keeping its shape, gently turn and reinforce the ball shape with cupped hands, stretching the top toward the bottom. Finally, plop the boule’s good side down into your canvas or tea towel lined colander. Make sure the canvas or towel is well floured so the loaf doesn’t stick. Fold the cloth over the loaf, or cover in plastic or a plate, to keep the surface from drying out. Place it in the fridge and let sit for 8 to 48 hours. The longer the dough ferments in the fridge, the more sour the taste will be, and the more likely the dough will stick to the canvas. This second, longer fermentation accomplishes two things: It helps develop flavor and allows flexibility in terms of when you feel like baking the loaf.
Baking
Now you’re ready to bake your bread. Preheat oven and pot or dish to 500 F.
Take the dough out of the fridge, there’s no need to bring it to room temperature. Turn the colander upside down and thump the boule out onto a floured surface.
Slash the boule with a sharp knife or razor blade. The slashes will promote even expansion and prevent ugly cracks and blown-out loaves. I usually make 2 cuts to make an x in the center of the loaf. You can experiment with other patterns – you can use different slashes to correct for problems such as underproofing.
Remove the preheated pot from the stove. Being careful, stick your hands under the loaf and gently lift and drop it into the pot.
Put the lid (or foil) on the pot and put it back in the oven. Bake for 20 minutes.
After 20 minutes, remove the lid and bake for another 20-ish. I often go a few minutes less, but the recipe says another 20-25 mins. It should be a rich golden to dark brown. Remove from pot.
Starter-based loaves taste better once they’ve cooled (so they say – I think it tastes the best hot and fresh). It says to let it cool for an hour and it will have better texture and flavor.
Enjoy:)
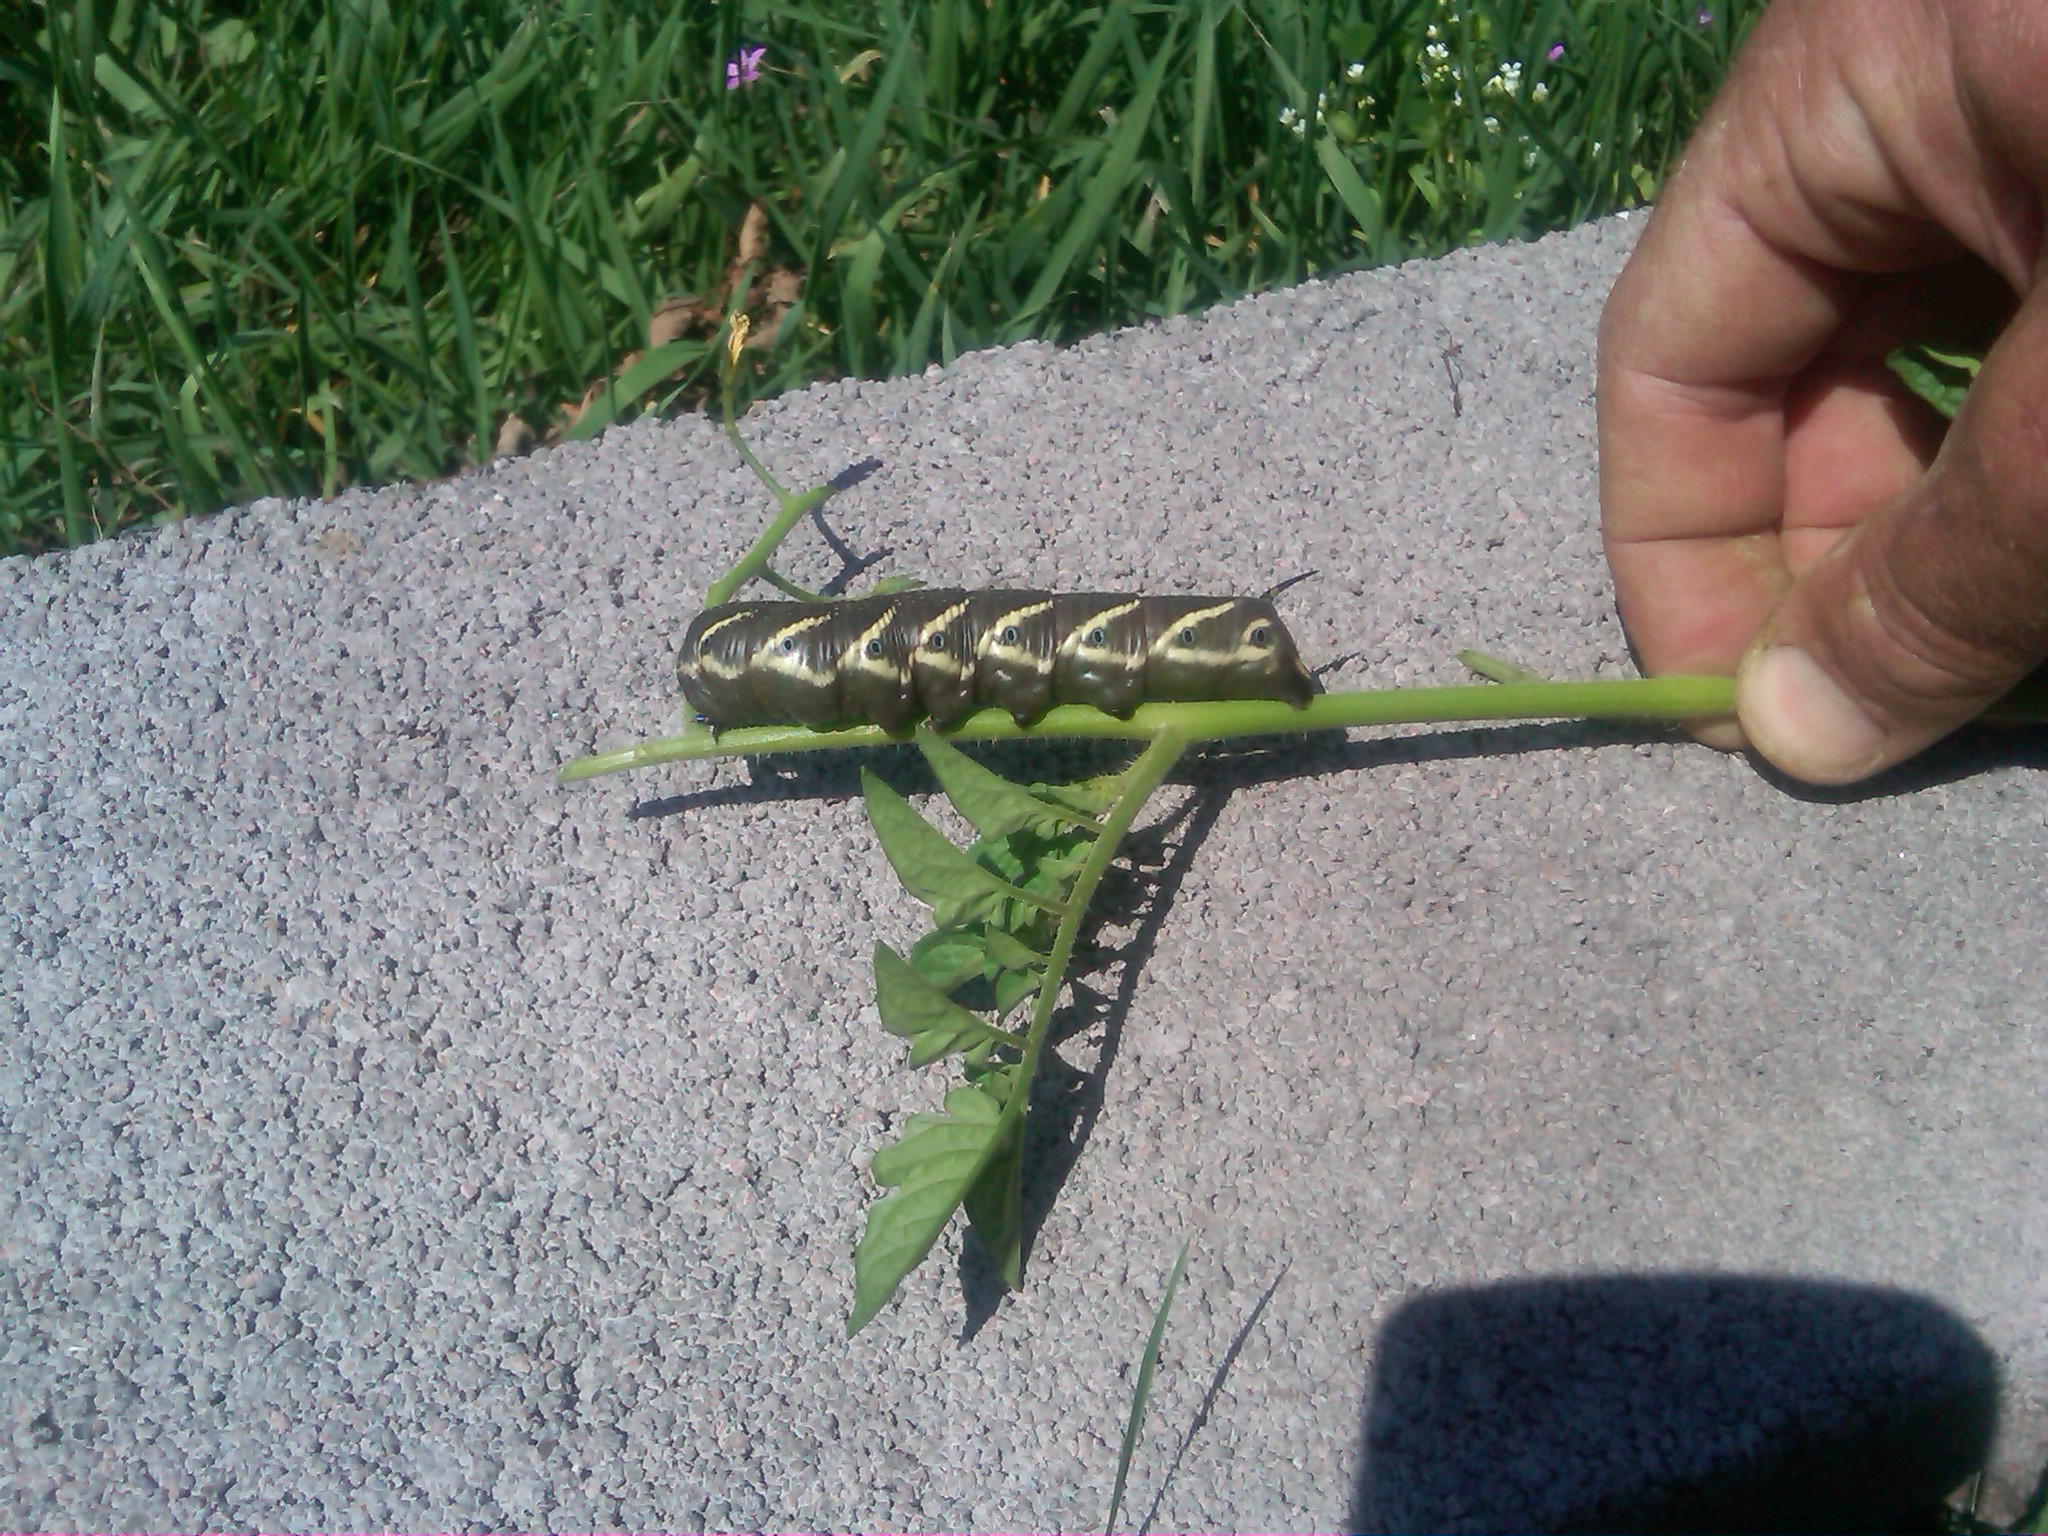
Just one of the many found amongst the tomatoes!
Yikes! Egads! I’ve come face to face with my first Tomato Horn Worm since Entymology in college. About the length and diameter of my first finger, Chartreuse, Pea and Army Green, complete with that unicorn appendage!
If I didn’t know how devastating a predator he can be I’d almost say he’s handsome. But the horn worm is no friend of farmer.
 There’s still a lot growing on the farm… Besides being overwhelmed with tomatoes of all kinds, we’ve got squash, carrots, tomatillos, herbs, peppers, cucumbers, beets… and more tomatoes:) The biggest hit at the Basalt Sunday Market last week were the tomatillos – if you’re not familiar with them, come by for a sample and you’ll be sold.
The tomatillo is a plant in the nightshade family that originated in Mexico and is definitely a staple of Mexican cuisine. The small, round green-yellow fruits (the tomatillos) are surrounded by an inedible, paper-like husk. As the fruit matures, it fills the husk and splits it open, which lets us know it’s ripe and ready for harvest. The fruit should be bright green and firm, and the husk also fresh and green. Although some are surprisingly sweet, most tomatillos are a bit on the tart side, which makes for amazing sauces and salsas. I’ve been experimenting with them and have found it hard to go wrong…
Try a blending a few tomatillos, a clove or two of garlic, some lime juice, half an avocado, a green zebra tomato (which we also have on the farm), and a bit of chopped onion and cilantro for an amazingly fresh and unbelievably delicious salsa for tacos, eggs, chips and guac, or anything else you can use for a carrier:)
Another great way to use tomatillos is to roast them in the oven with some hot peppers and garlic, and blend with some of the same ingredients above for a roasted salsa. It’s really nearly impossible to go wrong. Let us know if you have any great recipes of your own!
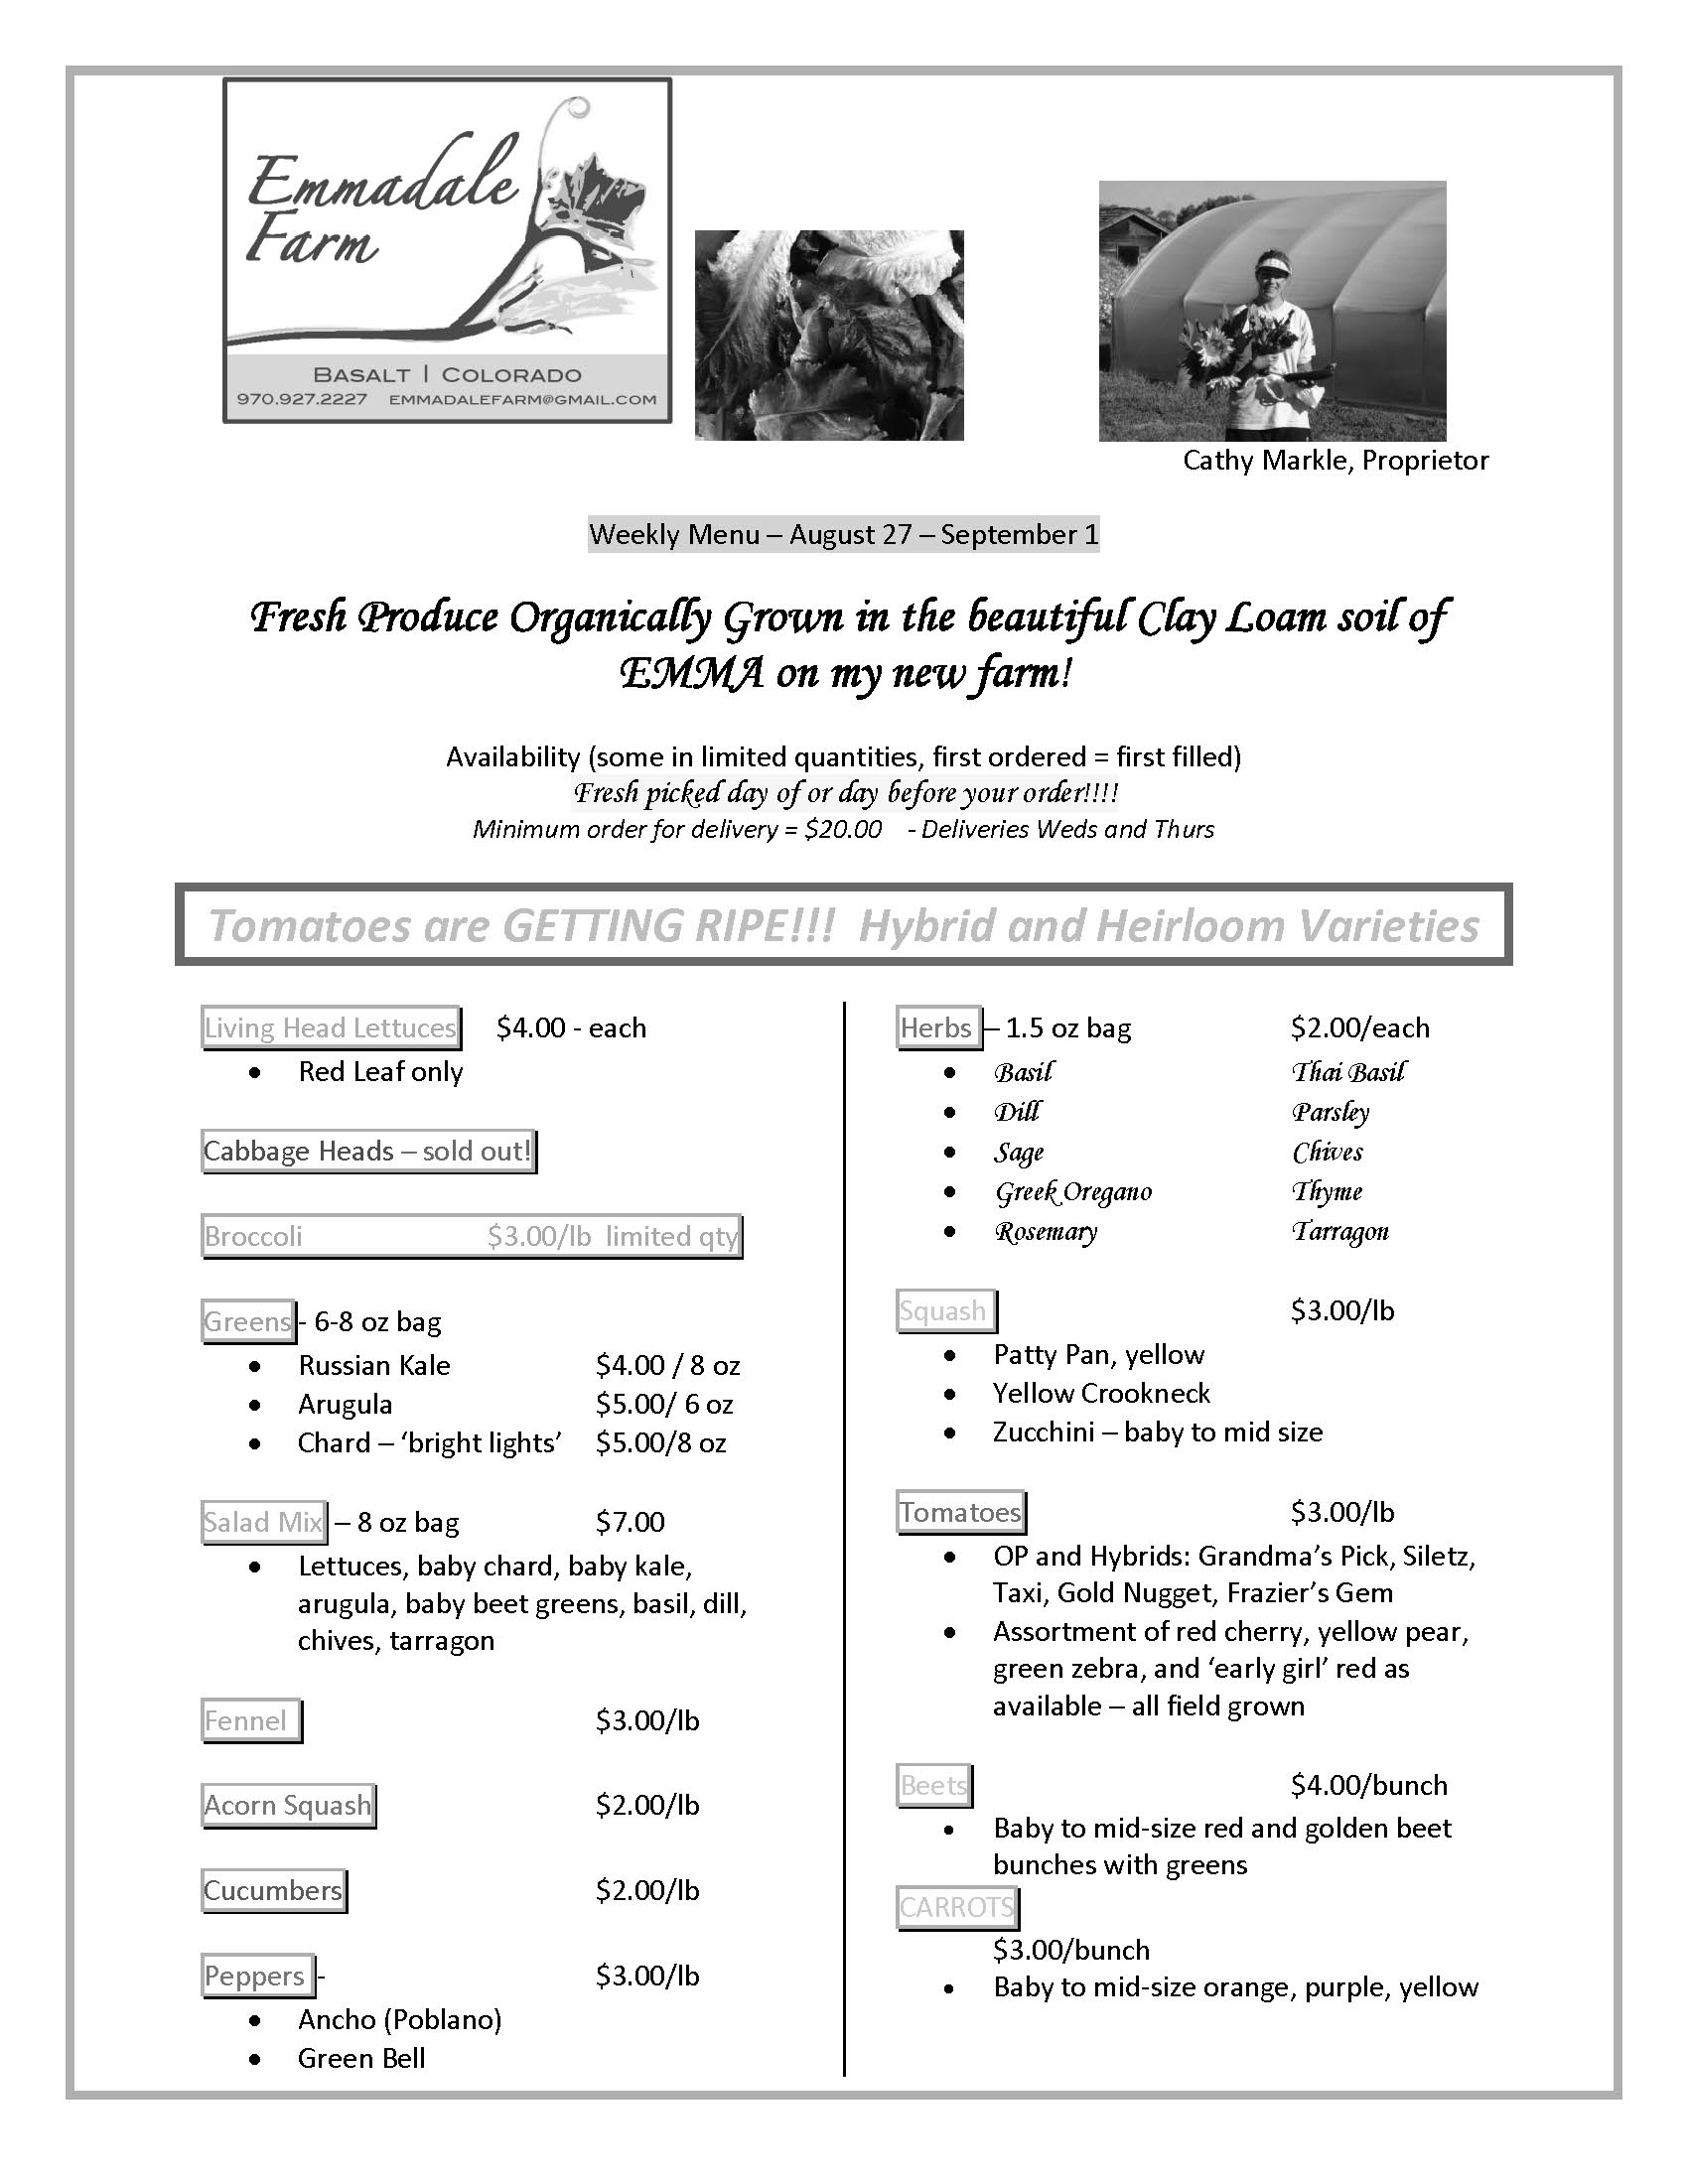
Don’t get stuck frequenting the same markets in the Roaring Fork Valley – if you haven’t checked out Basalt’s Sunday Market, there’s still time! The market runs through September 30th, so you have a whole month left to come check out the local farmers, artists and crafters that make Basalt’s market worth visiting. As always, Emmadale Farm will be there with fresh produce this week. Here’s a glimpse of our menu for this Saturday, September 1st. Can you believe it’s September already???